Design, Life, and Style.  A chic lifestyle blog. Design, Life, and Style about me link Design, Life, and Style advertisement/sponsorship link Design, Life, and Style travel reviews link Design, Life, and Style recipes/cooking link Design, Life, and Style fashion/style link Design, Life, and Style interior design link Design, Life, and Style home link
Showing posts with label How To. Show all posts

Wednesday, February 27, 2013

How To Make Fresh Flowers Live Longer


Spring time is upon us and my favorite thing about Spring is all of the beautiful flowers that come into season. Fresh flowers can be expensive so here are my tips to make your fresh flowers last longer.


Tips and Tricks to Make Fresh Flowers Live Longer

1. Make sure to cut 1-2 inches off the stem of each flower. Cut the stem under warm running water using sharp shears.
2. Cut the stem on an angle
3. Remove all low leaves from the flower (cut anything that is below water level). Low leaves tend to rot and will put bacteria into the water.
3. Make sure that your vase is CLEAN. This is a big mistake that many people make. Your vase needs to be clean and free of bacteria before you add your flowers. I usually clean my vase right before I fill it with water.
4.  Give the flowers food. A good trick is to add sugar (about 2 tbsp) to the water to encourage the flowers to bloom. I know it sounds funny but it works!
5. Add a preservative to the water. Many household items act as a preservative, such as:

  • 1 aspirin crushed in water and added to the water in the vase...this is my go to and it works fabulously!
  • 2 tbsp of white vinegar
  • 1 capful of Bleach
6. Change the water every other day. Once again you want to limit bacteria and overall yuckiness so make sure to change the water frequently and of course add your sugar and preservative as well.
7. Different flowers need different care. It may be worth it to do a quick Google search for care of your flower of choice. For instance I learned that Daffodils should not be used in vase arrangements with other flowers because thy secrete a substance that will kill the other flowers...who knew?!

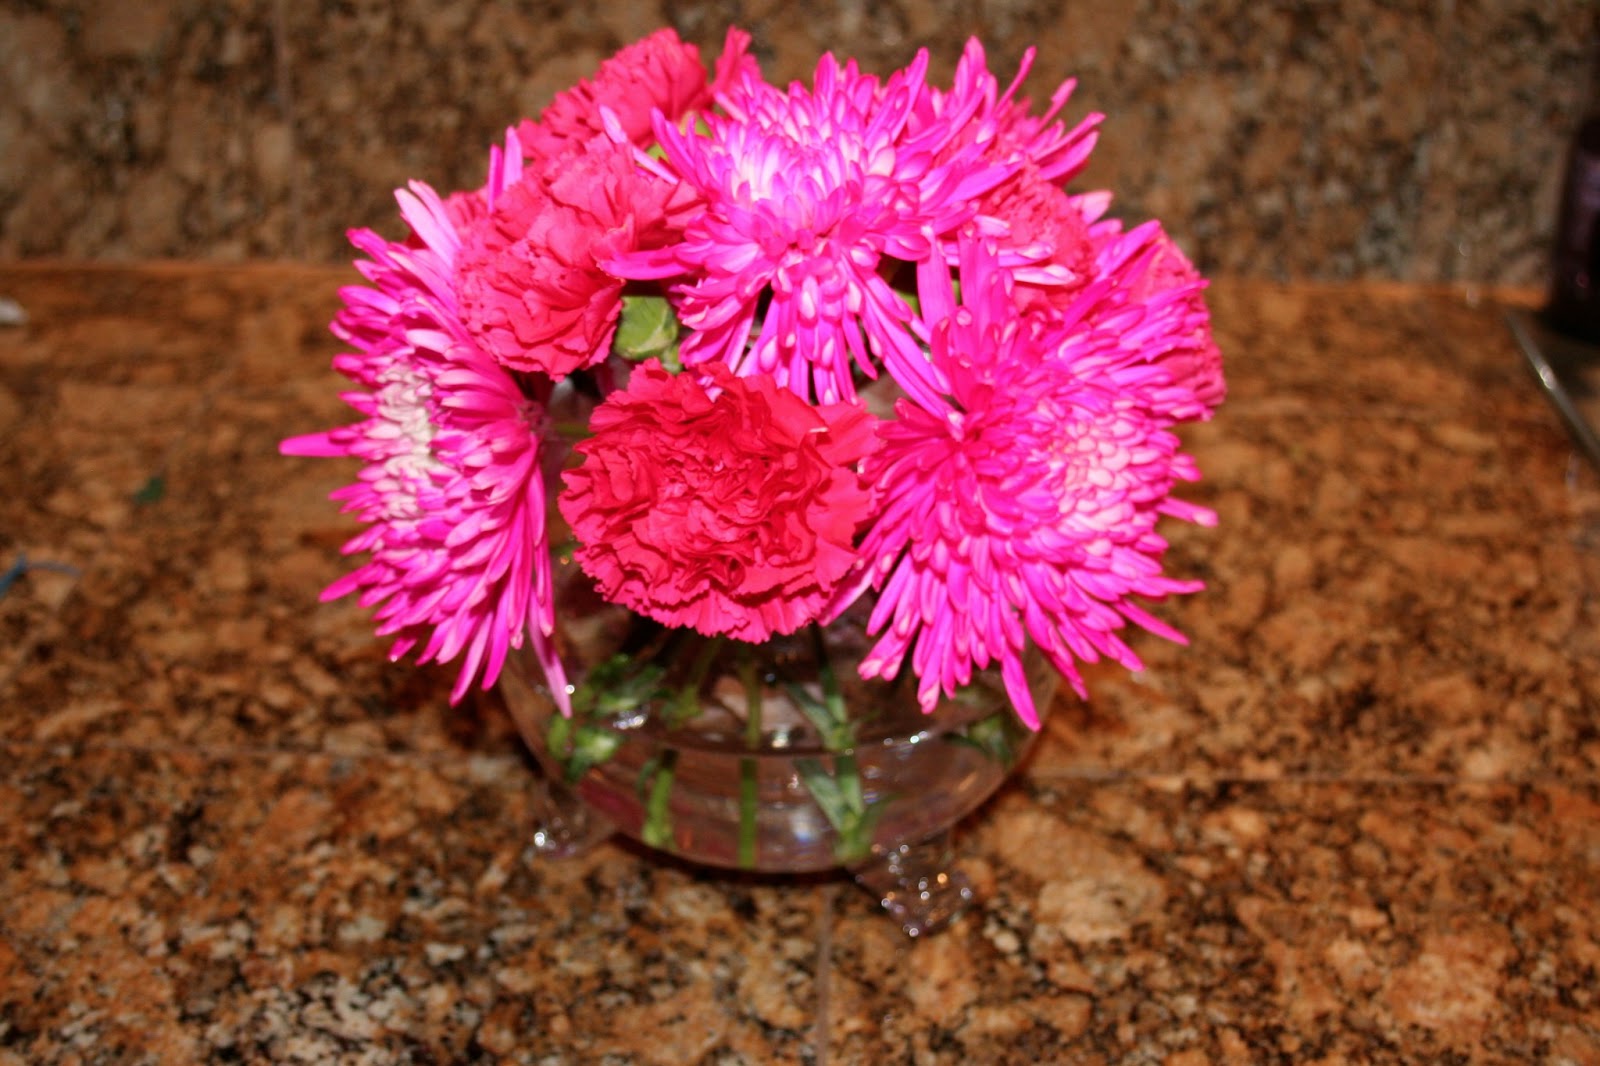
The arrangement below that I highlighted in this post lasted for almost 20 DAYS! (19 to be exact). Take care of your flowers and they will stay beautiful longer for you.


Wednesday, February 6, 2013

Valentine's Day Floral Arrangement


It has been a long, cold winter here in Utah. I am so excited for Valentine's Day for many reasons but especially because it signifies the coming of Spring. I wanted to add a pop of color to our home so I decided to throw together a quick Valentine's inspired floral arrangement for our family room end table.

Here are my tips for arranging fresh flowers like a pro!

1. Separate Sections for Each Flower with Tape: This allows the flowers to stay in place where you have situated them. The great part is that you cannot see the tape at all once the flowers are placed!


2. Make Sure to Measure: Measuring each stem to the appropriate length is key in creating a professional looking arrangement. Do not chop too much of the stem off immediately! It is always safer to cut a little off until you find the perfect length and then measure each subsequent flower to match.


3. Invest in Some Gorgeous Vases: Vases are a staple for any home. I guarantee you will use them more often then you think for many different reasons. I like to buy a lot of my glassware at TJ Maxx or Home Goods. I bought this vase for only $5.99. It was such a great deal I bought two!


4. Buy Whatever Flowers are on Sale: Fresh flowers can be pricey and I like to keep them in our home as much as possible. Try to buy whatever flowers are in season at the time or have been marked down. Flowers will look naturally gorgeous no matter what so you might as well get a good deal on them. Farmer's Markets are great for purchasing fresh flowers at reasonable prices. I wish we had more in Utah!


For tips on how to make your fresh flowers live longer click here

Friday, August 3, 2012

Best Way to Hang Wall Decor

Now I may be an interior design enthusiast but hanging things on walls is not my specialty.  Measuring is also not my specialty.  I consider myself challenged in any area involving numbers and math. So for me to have perfected a fool proof way of hanging things is basically a miracle. This method is best used when hanging one or more objects but not something as varied as a gallery wall. Gallery walls requires a totally different approach, maybe I'll explain that another time.

Anyway, my project was installing matching mirrors above our bed. Our master bedroom is a good size but not exactly huge so I went with mirrors to open up the space instead of closing it in with a large portrait. Big mirrors can be crazy spendy. They ranged in price from $200 to $600 just looking around locally. I settled on getting more bang for my buck by purchasing 2 matching mirrors from TJ Maxx for $25 each.


Directions

1. Apply a strip of tape the full length of your object


2. Mark on the tape exactly where the hooks are. Most mirrors come with these lovely D Ring hooks that are incredibly annoying so it is important to know exactly where to drive your nail.


3. Next I measured from the top of the hook to the top of the mirror and from the hook to the bottom as well.  I wanted to know exactly where the top/bottom of the mirror would be so that I would hang it on the wall in an appropriate location and so that the mirrors would line up properly. (If you are using more than one frame/mirror measure each individually. One mirror I used had the hooks placed 1/3 inch different from the other.)


4. Place the tape on your wall where you want the object to go. Having the tape physically there helps you to visualize how it will look. Make sure to measure from the tape to the top/bottom of where the mirror will be. If everything is to your liking then you are about ready to hammer! But first use your level to make sure the tape line is straight.


5. Hammering is the fun part, obviously. Hammer your hook into the wall. If your hook mark did not land on a stud you need to use a reinforcer for heavy mirrors. Check that your hooks are level to each other. If they are then you're ready to remove the tape and hang! Simply pull the tape gently and it should rip off from behind the hooks.


Voila! Perfectly hung mirrors in the exact position you want them to be in. I hope this helps you to more efficiently hang your mirrors/ large frames. (Please excuse our bedding and lack of decor. This was the temporary bedding we settled on while I have been on a mad search looking for the perfect set. Once one room in our place is finalized I'll publish before and after pics!)